How to install floating vinyl plank flooring in 5 easy steps

Installing vinyl plank can freshen up and transform any room. Thanks to incredible advancements in the flooring industry, vinyl plank is a great option for an easy install with a big impact. As a flooring store that offers vinyl plank in Cochrane, we provide our customers with expert tips on their DIY projects. Here’s a step-by-step guide to help you get started.
Tools and materials needed
- Floating vinyl plank
*vinyl flooring can come in tiles or sheets, but this article will focus on installing click plank* - Tape measure
- Level or straight edge
- Floor and tile spacers
- Metal putty knife or pry bar
- Power saw
- Jamb saw
- Power sander
- Tapping block and soft-faced hammer
- Floor patch
Step 1: Plan and prepare
The quality of your installation will greatly depend on how well you’ve planned and prepared beforehand. Your subfloor must be clean, free of moisture, and level within a ¼ inch in a 4-foot span. While vinyl plank can be installed on most flat surfaces, it should not be installed on floating floors, laminate, or on top of carpet.
For a smooth installation:
- Measure the room, double-check and then triple check the measurements
- Purchase 10% more flooring to account for cutting floors, waste, and to anticipate any potential issues
- Check the level of the floor
- Sand down the high spots with the coarsest sanding belt you can find
- Fill low areas with floor patch
- Vacuum the area thoroughly
- Lay out your vinyl plank flooring to check the colour, shade mixture, and check for damages or visible discrepancies

Vinyl plank Cochrane
Step 2: Remove baseboards and thresholds and undercut doorjambs
You can either use a metal putty knife or a pry bar to remove the baseboards and thresholds. Using a putty knife to gently wiggle behind the baseboard reduces the chances of damaging the paint on the walls. Start at one end of the baseboard and carefully move along the trim.
Using a small scrap of flooring as a guide, take your jamb saw or an oscillating tool to trim door jambs and casings. After removing the baseboards, thresholds, and undercutting the doorjambs, remember to run a vacuum once again through the room to make sure the space is thoroughly clean.
Step 3: Insert floor spacers
Floating vinyl plank flooring expands with temperature changes, so it’s important to leave an expansion gap along the walls. Create about a ¼-inch to ⅜-inch gap between the flooring and the walls with floor spacers placed throughout the length of the wall. Allow at least two spacers for each plank. Be sure to keep these spacers in place during installation.
Step 4: Measure the room
As mentioned above, measure the room once, twice, and triple-check for a smooth installation. Measure the length and width of the room in inches. Taking the length, divide this number by the length of the planks. You want to avoid having planks that are less than 8 inches on opposite ends of the room. You’ll need to cut your first plank accordingly if the number is less than 8 inches.
Next, measure the width of the room and divide by the width of the plank. You want to avoid having planks that are less than 2 inches wide and again, cutting the floor accordingly. This is an important step to ensure that the flooring is centred. Use a power saw to cut planks and through the underpad of the plank.
Step 5: Begin installation
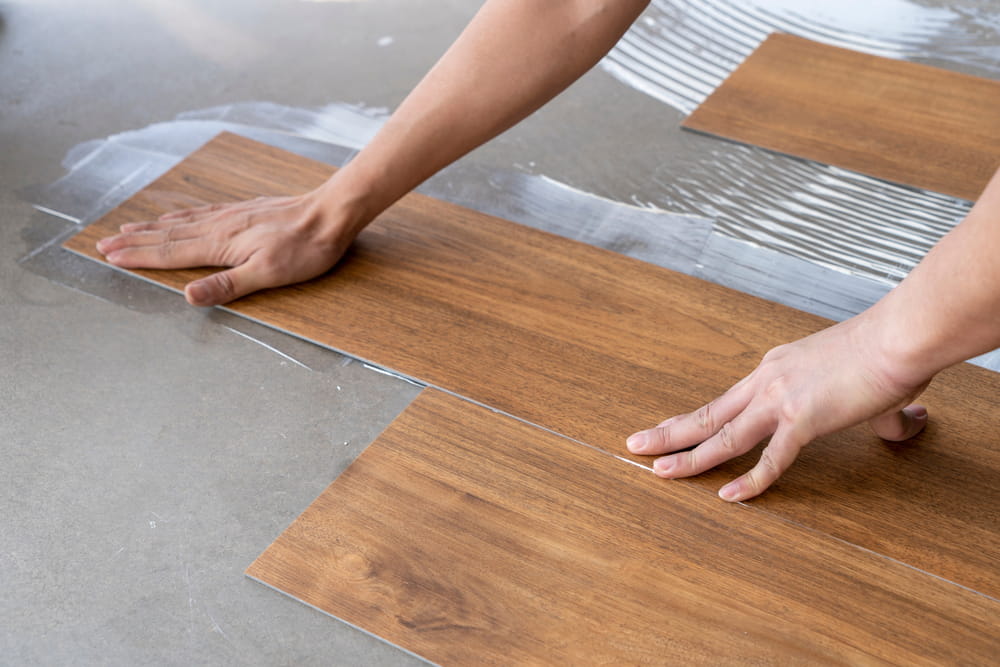
Install one row at a time and snap the planks in the first row from end-to-end. Use a tapping block and soft-faced hammer to carefully square the joints and secure the planks into place. Work your way through the room, taking breaks and stretching in-between. You’ll be spending quite some time on your knees, so we recommend knee pads to relieve fatigue. If you have a plank that’s not clicking into place, check the grooves and tongue for debris.
