
Tips And Tricks For Installing Vinyl Plank Over Concrete Floors
Vinyl plank flooring is designed to be an inexpensive and easy-to-install alternative to traditional hardwood floors. Installation requires minimal tools to achieve new, beautiful flooring for virtually any space. While vinyl plank flooring is simple to install, there are a few tips and tricks that will help you achieve great results. Today, we’re focusing on installing vinyl plank over concrete subfloors.
Use an underlayment
Unlike other subfloors, you may want to use an underlayment over concrete floors as an extra vapour barrier and added cushion. Underlayments can also provide thermal properties for the colder months in Calgary. Vinyl plank and laminate flooring stores typically offer different types of underlayment, with foam or rubber as the recommended material over concrete.
Prep your subfloor
As flooring experts, we always recommend that the surface is flat before installing vinyl plank floors. If there are visible grooves and dips in your concrete subfloor, you’ll need to level the floor out for a successful installation process. The subfloor and/or underlayment needs to be dry, clean, and free of debris when you begin to place the vinyl planks.

Undercut doorjambs and door casings
Undercutting jambs and casings allow you to slide the vinyl planks underneath for a seamless floor installation. For small home projects, we recommend using a handheld jamb saw. For larger projects with many doorways, a power jamb saw will get the job done efficiently. You can also use jamb saws to undercut baseboards; however, we typically recommend removing the baseboards before installing the vinyl floor planks.
Plan the layout ahead of time
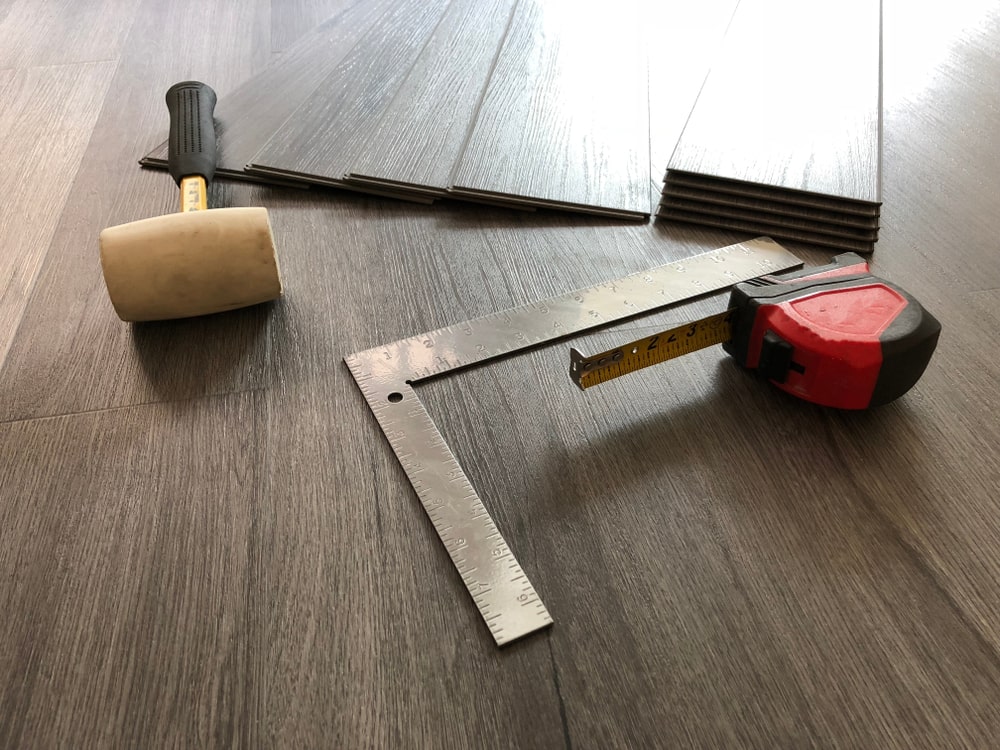
For a successful installation process, it’s important to plan the layout ahead of time. This helps ensure that installation is done with minimal issues. When it comes to floor installation, there’s no such thing as being too prepared!
Be sure to:
- Measure the room precisely
- Mark down any obstructions or angled walls that require measuring and cutting
- Leave a 1/4-inch gap at the wall and at the ends
- Test fit the row of planks
- Stagger the planks at least 6 inches from the end joints in the previous row
- Cut planks to size and cut for protrusions