6 Simple Steps to Install Solid Hardwood Flooring
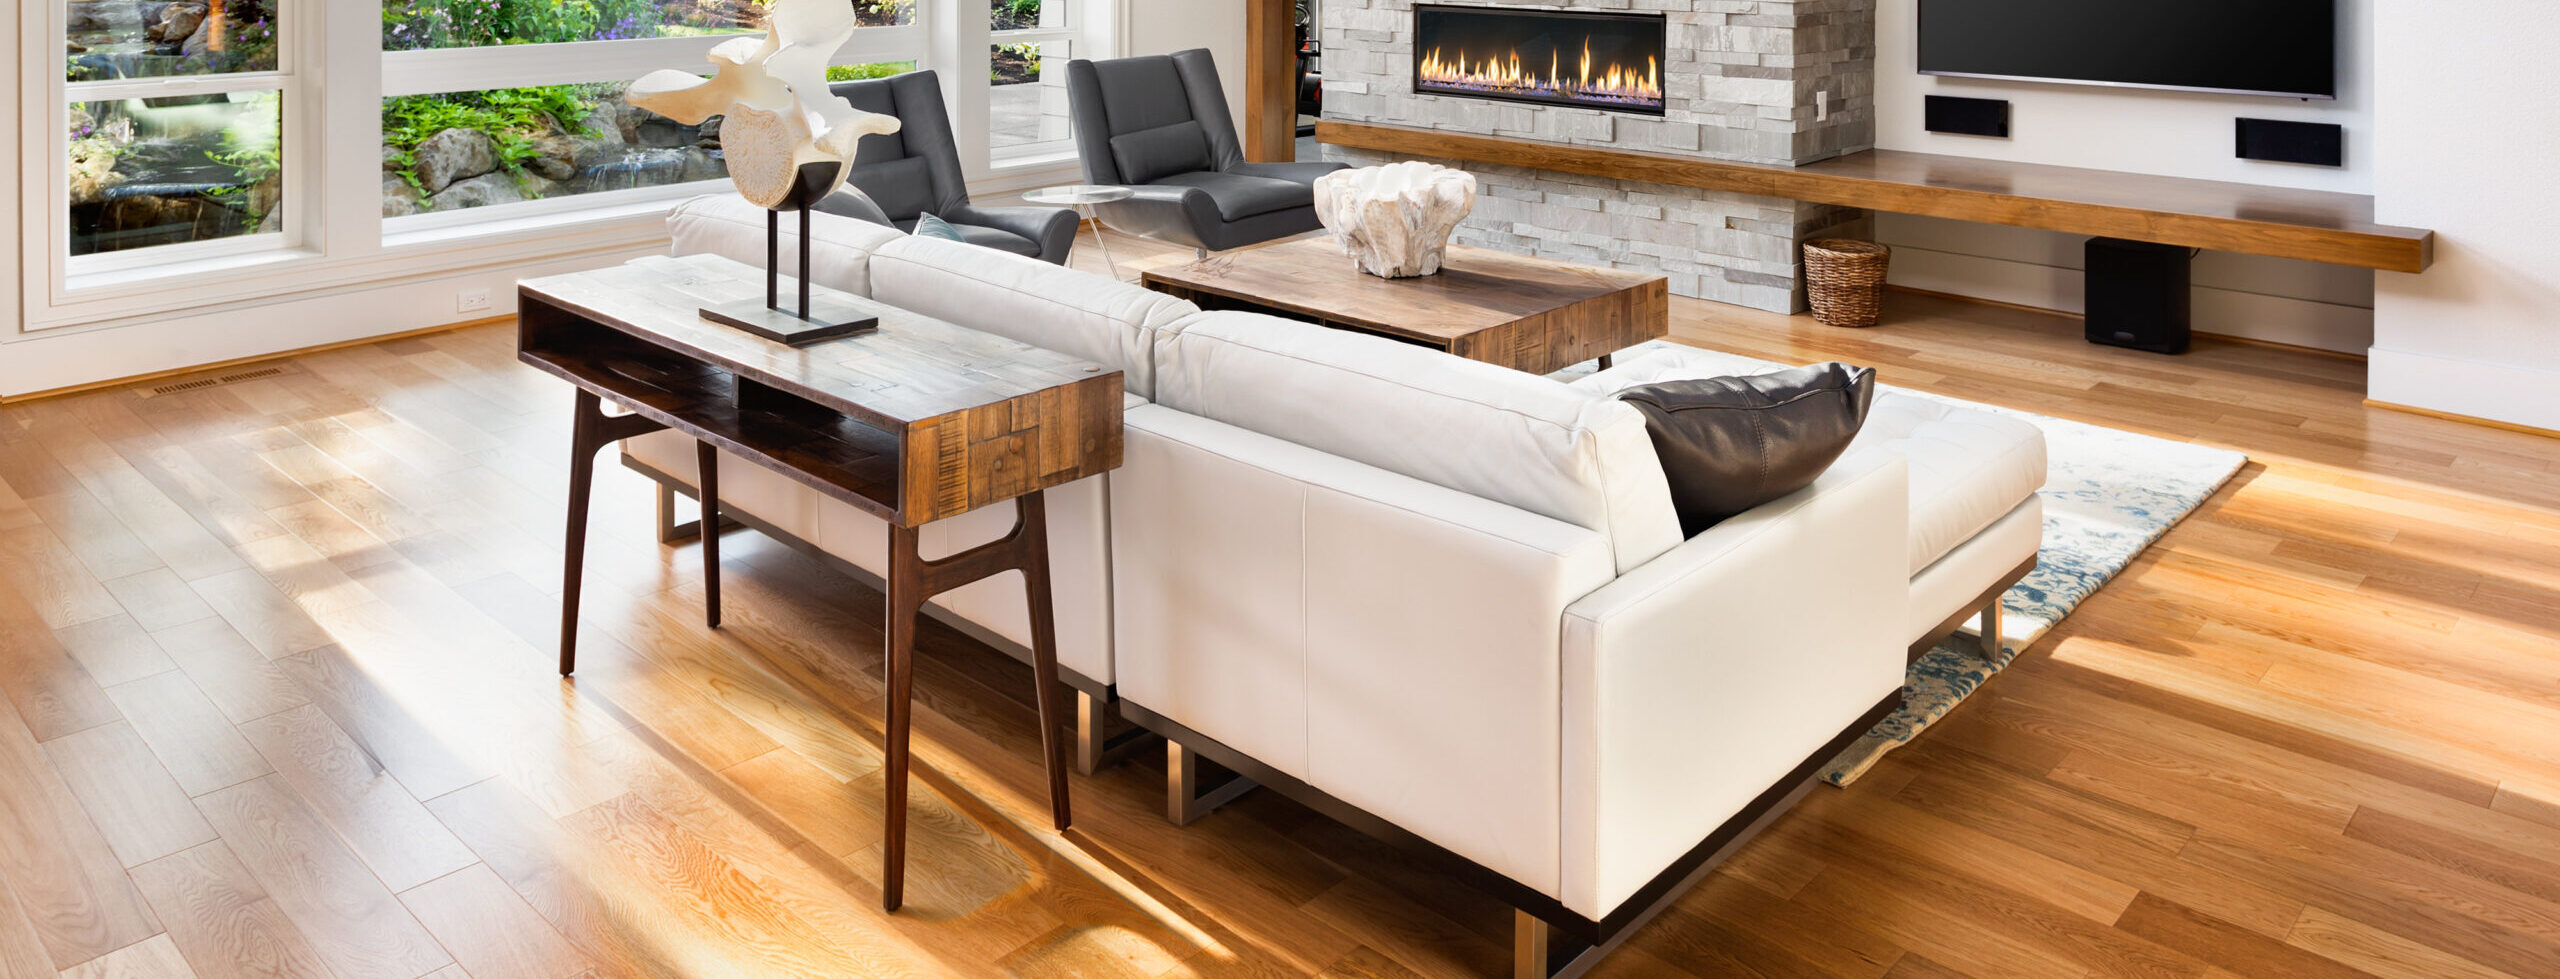
Imagine your home outfitted in rich and ravishing hardwood flooring. The smooth and silky finish, the warm and welcoming view, and of course the contemporary style that not only add presence to the decor but increases your home’s property value too!
There’s a lot to be said about hardwood flooring as it is a desirable commodity for many homeowners. And if you’re a seasoned handyman or an avid DIYer, we’re here to help make the installation process seamless!
About Hardwood Flooring
Installing solid hardwood flooring into your home will provide it with an upper-class look because of its attractive presence. You will often see it installed in kitchens, living rooms, dining rooms and in bedrooms as well. There is almost no place in your home that solid hardwood flooring won’t be able to make better. But before you get started, here are a few things you will need in order to get the job done:
Tools
- Knee pads
- Safety gloves
- Safety glasses
- Utility knife
- Wood glue
- Measuring tape
- Table saw
- Hammer
- Drill along with drill bits
- Flooring nailer
- Pry bar
Materials
- Nails
- Accessories along with hardwood flooring
- Floor molding and transitions
1. Prepare the Space
When starting your initial row, it’s important to have the straightest boards set up so that the side with the tongue is facing the middle of your room. Be sure to add spacers within the expansion gaps (the expanse separating the floor and the wall that permits the enlargement of the wood due to moisture and heat). Next, you’ll want to predrill holes about ¼ inch from the slanted end of the board at half an inch away from the wall. Repeat this process at 6-inch increments for the extent of each plank.
2. Countersink the Protruding Nails
Few things are as shoddy as nails protruding from what would have otherwise been a seamless hardwood floor. If the nails are jutted out, the boards won’t be able to connect to each other properly, and this will prevent a clean finish. To counteract this, you’ll need to countersink your nails. Using a nail punch, drill a hole in the planks, this will provide the necessary space for your nail to nestle in so that it’s flush with the boards. Then use matching putty to fill in the remainder of the hole. Now, you will have a seamless connection between each plank.
3. Position and Lock the Planks
Lock the tongue and the groove in place on the second row. Use a block or something solid and sturdy along with a hammer or a mallet to tap it in its proper place. Space out the connective planks by 6 inches or so. And if necessary, trim off the ends of the plank for a better and more snug fit.
4. Utilize a Flooring Nailer
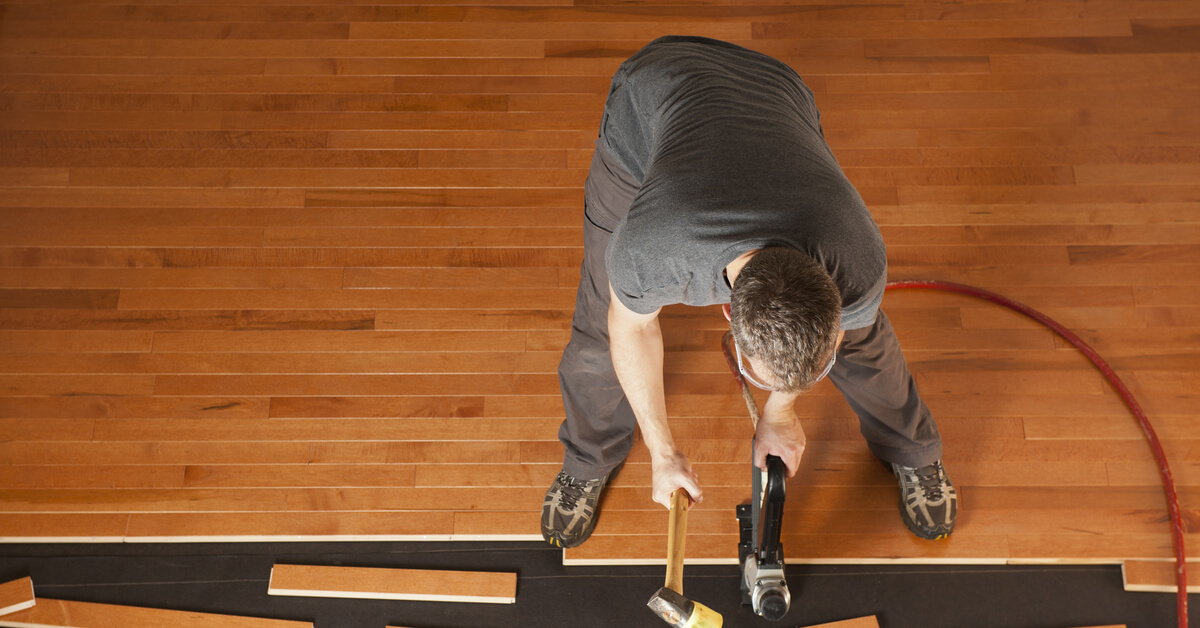
Next, go to the second row and use blind-nail it via the tongue. Continue this procedure until you can utilize the flooring nailer. You need space for the flooring nailer, so unless a few rows have already been positioned, you won’t be able to use it. Furthermore, it’s important to take precautions. Ensure that you use the protective boot for the nailer to safeguard the floor.
5. Complete the Installation of Hardwood Flooring
Once you get to the final rows, go back to nailing it manually. When you get the final row, trim the pieces so that they properly fit. You do this by calculating the space from the plank to the wall. If the last piece happens to be an inch or less wide, use a little bit of wood glue on the groove as well as on the tongue. Then place the piece using a pry bar and a chunk of wood remnant to shield the wall. If that last piece is bigger than an inch in width, have it face-nailed, then finish it off by countersinking it and filling the expanse in the hole with putty.
6. Add the Transition Pieces
Use the producer’s instructions in the manual to properly install the transition pieces as well as unfasten and pull out the spacers. Be sure to trim the underlayment and firmly attach the baseboards as well as the shoe molding. And lastly, ensure that you are fastening them to the wall and not the floor.


