6 Simple Steps to Install Solid Hardwood Flooring

Category : blog

Hardwood Flooring

6 Simple Steps to Install Solid Hardwood Flooring

riverbend

Imagine your home outfitted in rich and ravishing hardwood flooring. The smooth and silky finish, the warm and welcoming view, and of course the contemporary style that not only add presence to the decor but increases your home’s property value too!

There’s a lot to be said about hardwood flooring as it is a desirable commodity for many homeowners. And if you’re a seasoned handyman or an avid DIYer, we’re here to help make the installation process seamless!

About Hardwood Flooring

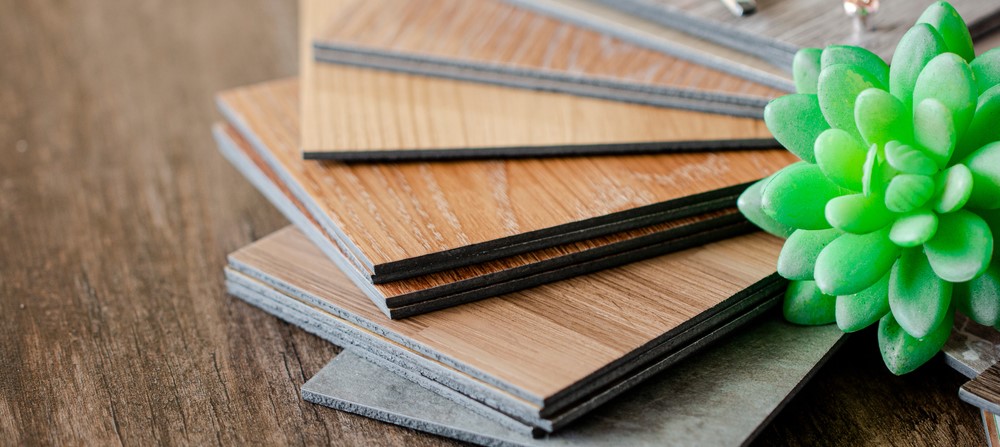
Installing solid hardwood flooring into your home will provide it with an upper-class look because of its attractive presence. You will often see it installed in kitchens, living rooms, dining rooms and in bedrooms as well. There is almost no place in your home that solid hardwood flooring won’t be able to make better. But before you get started, here are a few things you will need in order to get the job done:

Tools

  • Knee pads
  • Safety gloves
  • Safety glasses
  • Utility knife
  • Wood glue
  • Measuring tape
  • Table saw
  • Hammer
  • Drill along with drill bits
  • Flooring nailer
  • Pry bar

Materials

  • Nails
  • Accessories along with hardwood flooring
  • Floor molding and transitions

       1. Prepare the Space

When starting your initial row, it’s important to have the straightest boards set up so that the side with the tongue is facing the middle of your room. Be sure to add spacers within the expansion gaps (the expanse separating the floor and the wall that permits the enlargement of the wood due to moisture and heat). Next, you’ll want to predrill holes about ¼ inch from the slanted end of the board at half an inch away from the wall. Repeat this process at 6-inch increments for the extent of each plank.

       2. Countersink the Protruding Nails

Few things are as shoddy as nails protruding from what would have otherwise been a seamless hardwood floor. If the nails are jutted out, the boards won’t be able to connect to each other properly, and this will prevent a clean finish. To counteract this, you’ll need to countersink your nails. Using a nail punch, drill a hole in the planks, this will provide the necessary space for your nail to nestle in so that it’s flush with the boards. Then use matching putty to fill in the remainder of the hole. Now, you will have a seamless connection between each plank.

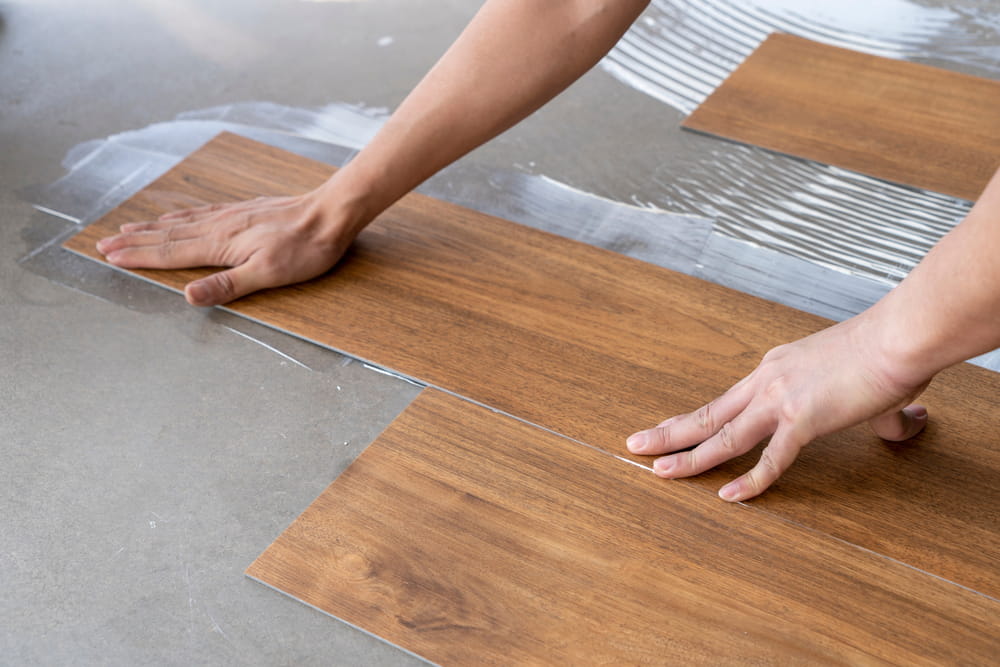
       3. Position and Lock the Planks

Lock the tongue and the groove in place on the second row. Use a block or something solid and sturdy along with a hammer or a mallet to tap it in its proper place. Space out the connective planks by 6 inches or so. And if necessary, trim off the ends of the plank for a better and more snug fit.

       4. Utilize a Flooring Nailer

Next, go to the second row and use blind-nail it via the tongue. Continue this procedure until you can utilize the flooring nailer. You need space for the flooring nailer, so unless a few rows have already been positioned, you won’t be able to use it. Furthermore, it’s important to take precautions. Ensure that you use the protective boot for the nailer to safeguard the floor.

       5. Complete the Installation of Hardwood Flooring

Once you get to the final rows, go back to nailing it manually. When you get the final row, trim the pieces so that they properly fit. You do this by calculating the space from the plank to the wall. If the last piece happens to be an inch or less wide, use a little bit of wood glue on the groove as well as on the tongue. Then place the piece using a pry bar and a chunk of wood remnant to shield the wall. If that last piece is bigger than an inch in width, have it face-nailed, then finish it off by countersinking it and filling the expanse in the hole with putty.

       6. Add the Transition Pieces

Use the producer’s instructions in the manual to properly install the transition pieces as well as unfasten and pull out the spacers. Be sure to trim the underlayment and firmly attach the baseboards as well as the shoe molding. And lastly, ensure that you are fastening them to the wall and not the floor.

Carpet flooring store

Carpet choices: What will last the longest?

riverbend

When deciding on the ideal choice for your home’s flooring, you want to pick something durable. Whatever material you choose for your floor, you know it will be walked on every day, and maybe even rolled around on by children or pets.

Choosing carpet flooring for your home offers the warmth and comfort of synthetic or natural fibres, a cushioning effect, is non-slippery, and quiet. So, what type of carpet lasts the longest from your carpet flooring store?

Wool carpet

  • Wool fibre carpet flooring is one of the strongest options on the market for the following reasons.

Environmentally-friendly

  • Wool is a natural fibre made up of amino acid chains that are completely biodegradable. So, when you have extra carpet to be thrown out or need a carpet re-fresh, you don’t have to be concerned about adding non-environmentally friendly waste to the earth.

Hypoallergenic

  • Do you have allergies? Wool can be a saving grace in your home. When dust and dirt land in the fibres, it is less likely to cause you to have a major allergy attack. These pollutants are absorbed by the wool and stay contained instead of floating in the air causing you to have a sneezing, coughing fit. The fibres are usually longer and thicker than most other carpet fibres making it near impossible to inhale any dust and dirt. A good vacuuming lifts out the dust and dirt, leaving your wool fibres intact.

Retains its shape

  • The elasticity of wool allows it to be stretched up to 40% beyond its original length and then return to the size it was before. Tons of people can walk on your wool carpet, smooshing it down, but then when they are gone, the carpet bounces back to its original appearance.

Flame-resistant

  • While other carpet fibres might catch fire quickly and put you in a panic, wool is flame-resistant, meaning that it is more likely to leave a dissipating ash than catch on fire.

Nylon carpet

Nylon is a premium carpet fibre that is also extremely durable. It can take a lot of wear and tear because of the strength of its material.

Resistant to staining

  • When treated, it can be quite stain-resistant so is a terrific choice for high-traffic areas in your home where people are likely to spill.

Polyester carpet

This type of carpet is extremely soft under your feet and comes in many colour choices, but the benefits don’t stop here.

Safe

  • Polyester is a safe carpet for your home. While mold and mildew could build up in the fibres of your carpet over time especially if there are lots of spills happening, you can be grateful that polyester has less chance of this occurring. It is extremely resistant to mould and mildew so a safe, healthy choice for your family home.

Polypropylene or olefin

  • Polypropylene or olefin carpet flooring is a popular choice in commercial spaces while also used in residential applications. It is often placed in commercial spaces because it lends itself well to heavy foot traffic.

Fade-resistant

Are you worried about the sun fading out your carpet? Polypropylene or olefin is a strong fibre resistant to fading whether it be from natural light or lots of footprints. All carpet colours fade over time, but this type of fibre is less likely to show negative effects over long periods.

If you need more tips for choosing a type of carpet that will last the longest, speak with a representative at a carpet flooring store who can show you some samples of the different options available to you.


Contact us for any questions you have about the professionals from the Cochrane flooring store of your choice.

vinyl-plank-flooring-for-your-home-riverbend-interiors-cochrane

Vinyl plank flooring: Why you will want it for your home

riverbend

If you are considering new flooring for your home, vinyl plank flooring is one of the most luxurious and durable material choices. Give your rooms a refreshed look with the appealing outer appearance of hardwood without the cost and upkeep.

While hardwood is beautiful, it can stain easily, sustain scratches over time, and depending on your wood selection, it can be very expensive. Here are some good reasons you should consider vinyl plank flooring for your home.

Waterproof

Have you ever spilled a whole jug of water on your floor or had your kids track in a pile of snow? Vinyl plank flooring comes in waterproof options, so you don’t have to worry about the moisture causing damage to your floors. The layer of waterproof material within the floor planks makes it the optimum choice for your kitchens or washrooms. You will love the faux wood aesthetic without the maintenance of solid or engineered hardwood.

Luxurious look

Vinyl plank comes in many different styles with patterns and colours giving you a variety of decorating options for that realistic wood flooring look. If you want that luxurious atmosphere in your home without the luxurious cost, then luxury vinyl plank flooring is the perfect solution for you.

This flooring option feels extremely comfortable under your feet because of the quality materials used to construct it. Everyone in your household will appreciate the cushioning effect, even the dog as he lays down to go to sleep on your newly installed vinyl plank floor. Four layers of comfort? Yes, please!

Durable

Heavy traffic areas in your home are good places to install vinyl plank flooring as it is built to withstand the pressures of many feet over time. Rigid core vinyl plank flooring is an ideal choice as it is scratch and dent-resistant. When you want a flooring option that lasts for years, choose a thicker plank of at least 12mm. Residential grade planks come in a variety of thicknesses and plank lengths and are meant to be lived on.

Another reason to make vinyl plank flooring a part of your home is that they are easy to install yourself! You don’t have to be a professional carpenter to put a vinyl plank floor in your home because there are many do-it-yourself steps and videos available on the internet. The click-locking planks are made for simple installation, built like a large puzzle for the novice home renovator who is looking for an easy skill level.

What else might you want to know before installing vinyl plank in your home? Check out this article and contact us for any questions you have about the professionals from the Cochrane flooring store of your choice.

riverbend-interiors-luxury-hardwood-flooring-blog-image

Why luxury hardwood flooring is a great choice for your dream home

riverbend


When you are designing your dream home, you want to choose beautiful flooring to compliment the style of the architecture. Have your house stand out in the most beautiful way possible by selecting flooring that adds character to your home and is easy to maintain. Your floor choice is one of the most important aspects of your home and you want it to be strong, versatile, and long-lasting.

Hardwood flooring can add a real luxurious look to your home, and it is available in a variety of wood types. An array of colours and textures are available for you to pick from in Cochrane’s hardwood flooring stores. Here are several good reasons why hardwood is the ideal choice for your dream home.


Versatility

Whether you are looking for a modern atmosphere or want to have a home that shows off the warmth and richness of exotic wood, hardwood flooring can transform your living space. Hardwood flooring comes in endless tones from oak and cherry to maple and walnut. You can even add offbeat tones like blue for that daring look you are going for. You can choose an 8-inch wide plank or something thinner around 2 inches to suit your design needs. Whichever type of hardwood you pick, you will be happy with the warm and inviting feeling it evokes, no matter what your style is.


Strength and durability

Hardwood flooring is strong and can handle a lot of everyday wear and tear. Whether you choose solid or engineered hardwood, the durable finish helps prevent scrapes and scratches from appearing. Hardwood flooring is great for kitchens and other high-traffic zones in your house. Show off your luxurious style with hardwood flooring as a focal design aspect in any space in your home.


Easy to maintain

Keep your flooring looking great with the ease of maintenance that hardwood flooring provides. Taking care of your wood floors is as simple as using a hardwood floor cleaner and a microfibre mop. Simply vacuum off the dirt and dust, then with a quick mopping, your floors will look brand new. You can clean hardwood with a steam cleaner but be sure to follow the manufacturer’s recommendations so as not to cause damage to your beautiful wood. A Cochrane hardwood flooring store will carry cleaners specifically made for hardwood flooring, making it simple for you to keep the wood looking great.

If you spill something on your hardwood, all you need to do is wipe it up with a soft cloth. Keeping your hardwood clean is easy and, as a bonus, wood floors are one of the best choices if you have allergies. Hardwood does not hold onto dust and dander like carpets. If you have a pet, hardwood is the ideal option because there is no chance of pet fur getting embedded into the flooring as it would with carpet.

What kind of hardwood do you have in mind for your dream home? Visit the Cochrane flooring store for the many options available to you.


Reach out for a Free Estimate.

Check out our article on things to consider when choosing hardwood flooring.

Vinyl plank

How to install floating vinyl plank flooring in 5 easy steps

riverbend

Installing vinyl plank can freshen up and transform any room. Thanks to incredible advancements in the flooring industry, vinyl plank is a great option for an easy install with a big impact. As a flooring store that offers vinyl plank in Cochrane, we provide our customers with expert tips on their DIY projects. Here’s a step-by-step guide to help you get started.

Tools and materials needed

  • Floating vinyl plank
    *vinyl flooring can come in tiles or sheets, but this article will focus on installing click plank*
  • Tape measure
  • Level or straight edge
  • Floor and tile spacers
  • Metal putty knife or pry bar
  • Power saw
  • Jamb saw
  • Power sander
  • Tapping block and soft-faced hammer
  • Floor patch

Step 1: Plan and prepare

The quality of your installation will greatly depend on how well you’ve planned and prepared beforehand. Your subfloor must be clean, free of moisture, and level within a ¼ inch in a 4-foot span. While vinyl plank can be installed on most flat surfaces, it should not be installed on floating floors, laminate, or on top of carpet.

For a smooth installation:

  • Measure the room, double-check and then triple check the measurements
  • Purchase 10% more flooring to account for cutting floors, waste, and to anticipate any potential issues
  • Check the level of the floor
  • Sand down the high spots with the coarsest sanding belt you can find
  • Fill low areas with floor patch
  • Vacuum the area thoroughly
  • Lay out your vinyl plank flooring to check the colour, shade mixture, and check for damages or visible discrepancies

Vinyl plank Cochrane

Step 2: Remove baseboards and thresholds and undercut doorjambs

You can either use a metal putty knife or a pry bar to remove the baseboards and thresholds. Using a putty knife to gently wiggle behind the baseboard reduces the chances of damaging the paint on the walls. Start at one end of the baseboard and carefully move along the trim.

Using a small scrap of flooring as a guide, take your jamb saw or an oscillating tool to trim door jambs and casings. After removing the baseboards, thresholds, and undercutting the doorjambs, remember to run a vacuum once again through the room to make sure the space is thoroughly clean.

Step 3: Insert floor spacers

Floating vinyl plank flooring expands with temperature changes, so it’s important to leave an expansion gap along the walls. Create about a ¼-inch to ⅜-inch gap between the flooring and the walls with floor spacers placed throughout the length of the wall. Allow at least two spacers for each plank. Be sure to keep these spacers in place during installation.

Step 4: Measure the room

As mentioned above, measure the room once, twice, and triple-check for a smooth installation. Measure the length and width of the room in inches. Taking the length, divide this number by the length of the planks. You want to avoid having planks that are less than 8 inches on opposite ends of the room. You’ll need to cut your first plank accordingly if the number is less than 8 inches.

Next, measure the width of the room and divide by the width of the plank. You want to avoid having planks that are less than 2 inches wide and again, cutting the floor accordingly. This is an important step to ensure that the flooring is centred. Use a power saw to cut planks and through the underpad of the plank.

Step 5: Begin installation

Install one row at a time and snap the planks in the first row from end-to-end. Use a tapping block and soft-faced hammer to carefully square the joints and secure the planks into place. Work your way through the room, taking breaks and stretching in-between. You’ll be spending quite some time on your knees, so we recommend knee pads to relieve fatigue. If you have a plank that’s not clicking into place, check the grooves and tongue for debris.

1 4 5 6 7 8 9

Our shop local guarantee means we will match any competitor’s price on identical products.  If we don’t have the products you’re looking for we’ll gladly search the market for it.  With over 25 years of experience in the industry, we’ll also be glad to explain how you get what you pay for with quality products and installations.